MY HANDHELD BLOG
Welcome to the blog of Alexia Kuros
Trying to restore a damaged PSP
November 1, 2024
I had some trouble along the way
Back in the days when I was still collecting games and consoles, I often got handhelds in pretty bad shape. Most of them missed parts or the shell was completely damaged. After my Gameboy was restored, my hands were itching again. I would love to give it another try to replace a shell and swap buttons clean it up and make it look nice again. Let’s say that my first try with the PSP 1000 was quite an interesting journey.
I found this very cheap and sad looking PSP 1000 online and I could pick it up nearby so, I picked this one up. Worst thing that could happen was breaking it while swapping the shell. I found some YouTube guides online telling me how to disassemble and reassemble a PSP. I have to admit it looked quite intimidating. I was wondering if this was a good idea after those videos but since I already got the device there was no turning back.
My first idea was to order a clear pink shell, but since you can see everything with a clear shell, I decided to go for a normal pink one. I mean if I would make a mistake or something would not look as nice, you would not see it. Also, I ordered a set of white buttons thinking this would fit well together.
The parcel arrived and when I opened my packet half of the parts were missing this means no buttons and extra screws. This should have been my first red flag not to even start on this shell but I thought since I didn’t need those, I could live with it and honestly, I just didn’t want to wait any longer.
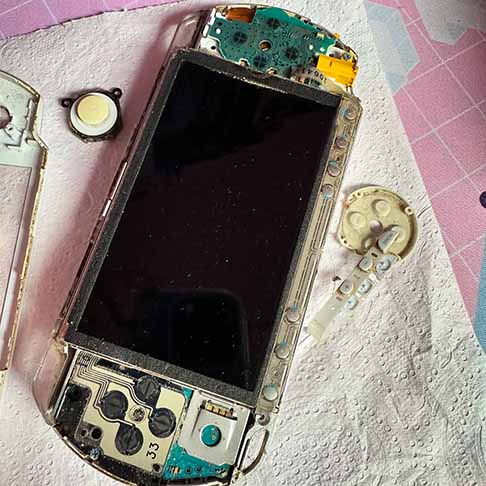
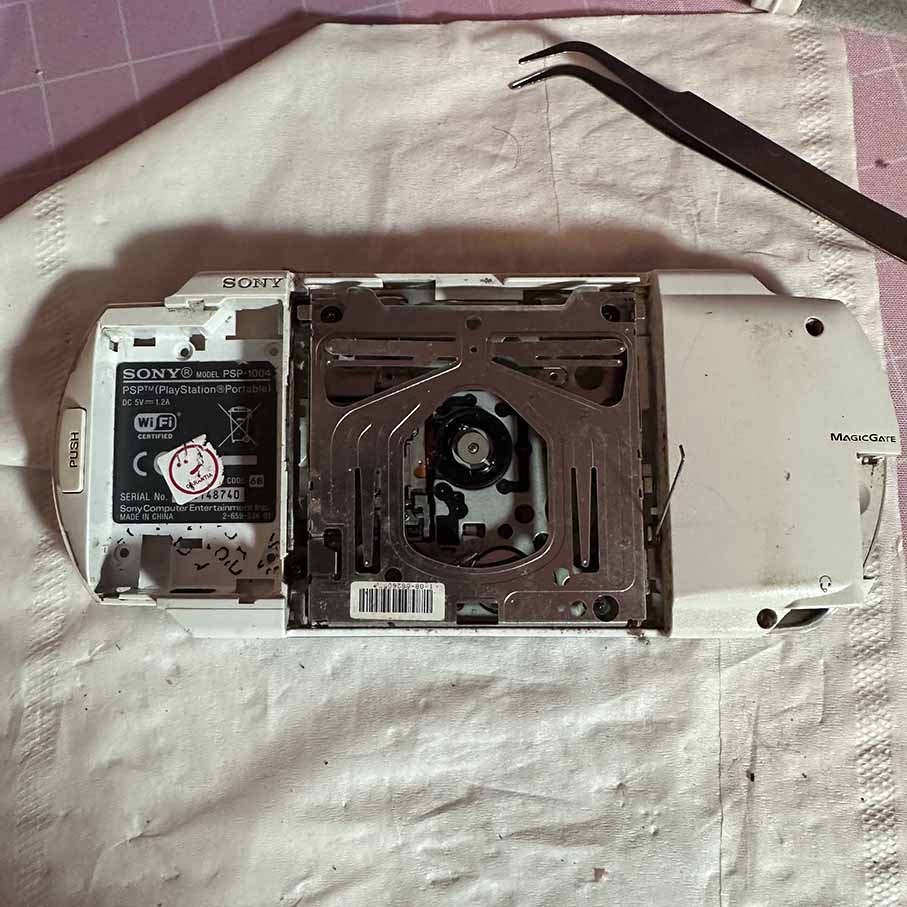
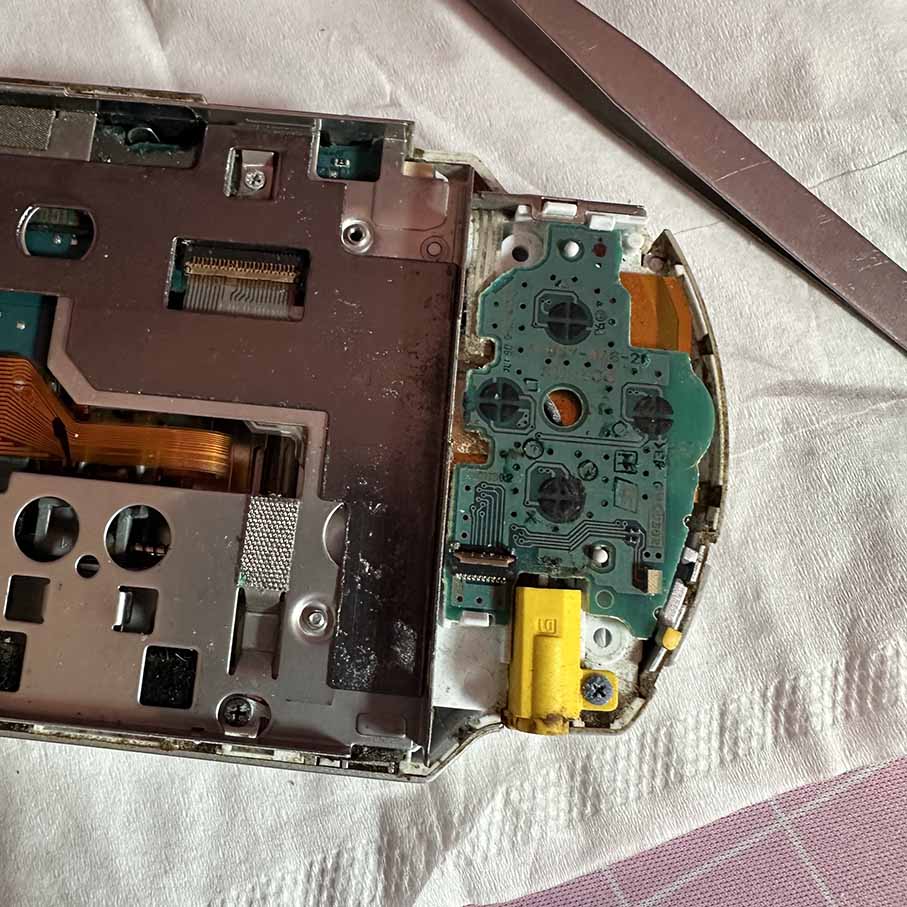
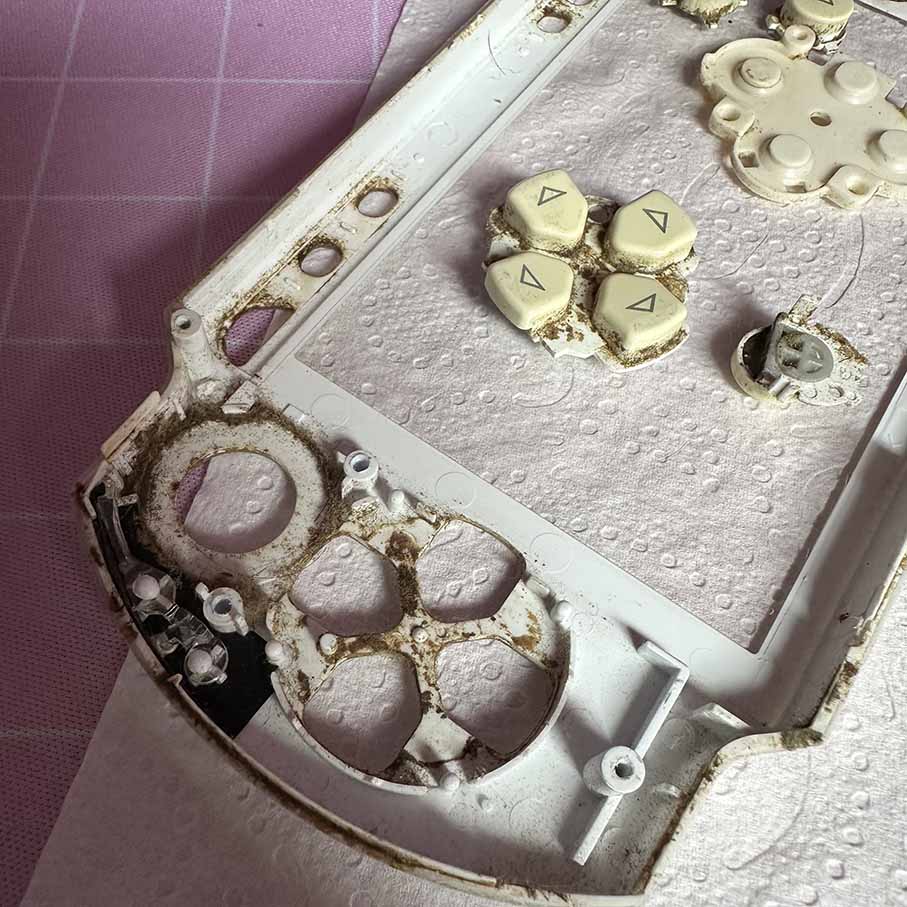
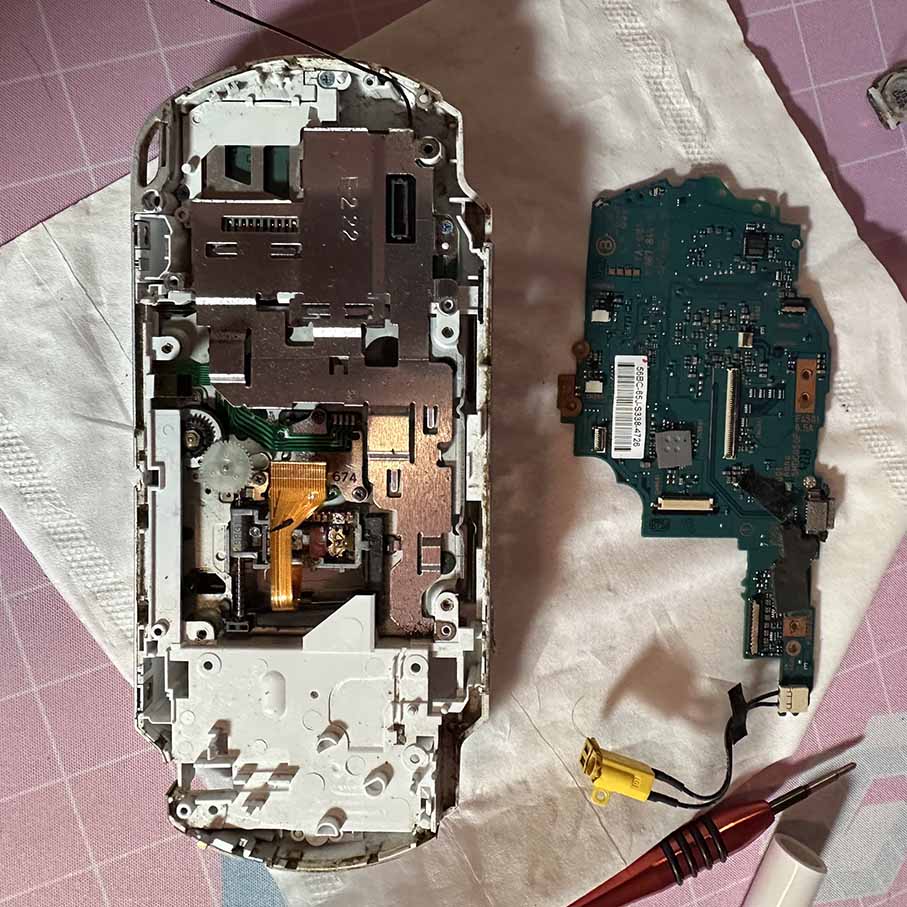
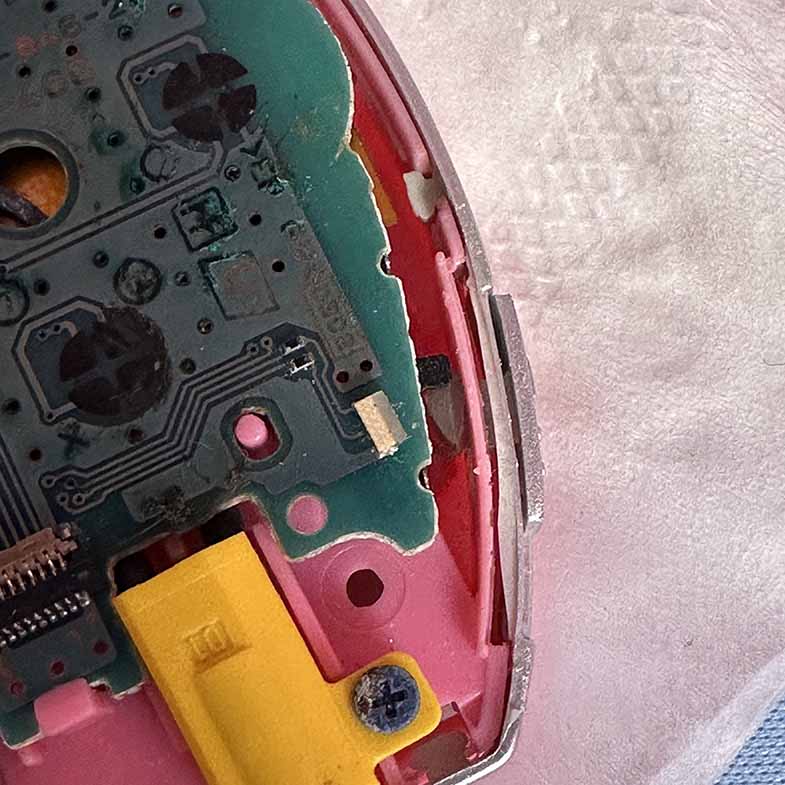
Then with everything set I started to disassemble the PSP. This poor PSP was so dirty I don’t even want to know what happened to it. I mean even on the inside it was dirty. With a YouTube guide on my side and a few tips for rusty screws I can say that I was able to disassemble the PSP safely and it was actually a lot easier than I thought.
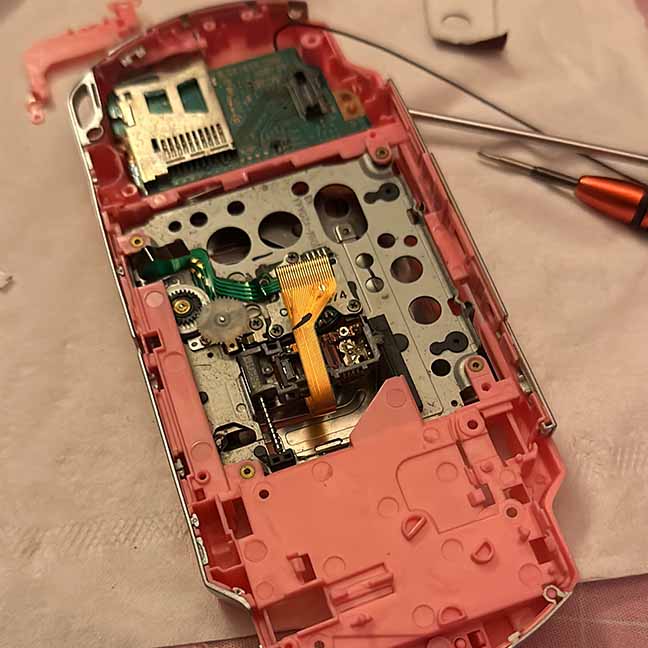
Since disassembling the PSP went well, I had high hopes when I started to reassemble the PSP. Sadly, the high hopes didn’t last long. I wasn’t even half way when some problems started. I saw on YouTube videos that there could be problems with fitting the Wi-Fi connector in the shell but in this shell, it didn’t even fit at all. I had to cut a lot of things away to make it fit. I quickly found out that there was a very important part missing. The part that would connect the shell to the on/off switch. So, I could not even turn the device on with that missing.
I contacted the store where I got this from and they told me to return the shell. I said that I had used the shell but that didn’t seem to matter for them. I started to wonder how I would safely dissemble the shell again so that it would not break. There was where the next problem started. Everything somehow decided to get stuck in the shell. I had screws that decided to pick a fight with me. I really wasn’t sure if I was able to disassemble this safely again. Somehow I managed to get everything out of the replacement shell. I had no idea at this point if the PSP was still working or not. The original case was so badly damaged that I could not assemble it again to see if it still worked.
With the replacement shell returned I was thinking what my next move would be. Would I buy a broken PSP 1000 with a good shell? I really wanted it to be a pink one and I can say that even a broken PSP 1000 in pink is not cheap. A little later I got a tip where I could buy a quite decent PSP 1000 shell in pink so I decided to give that another go.
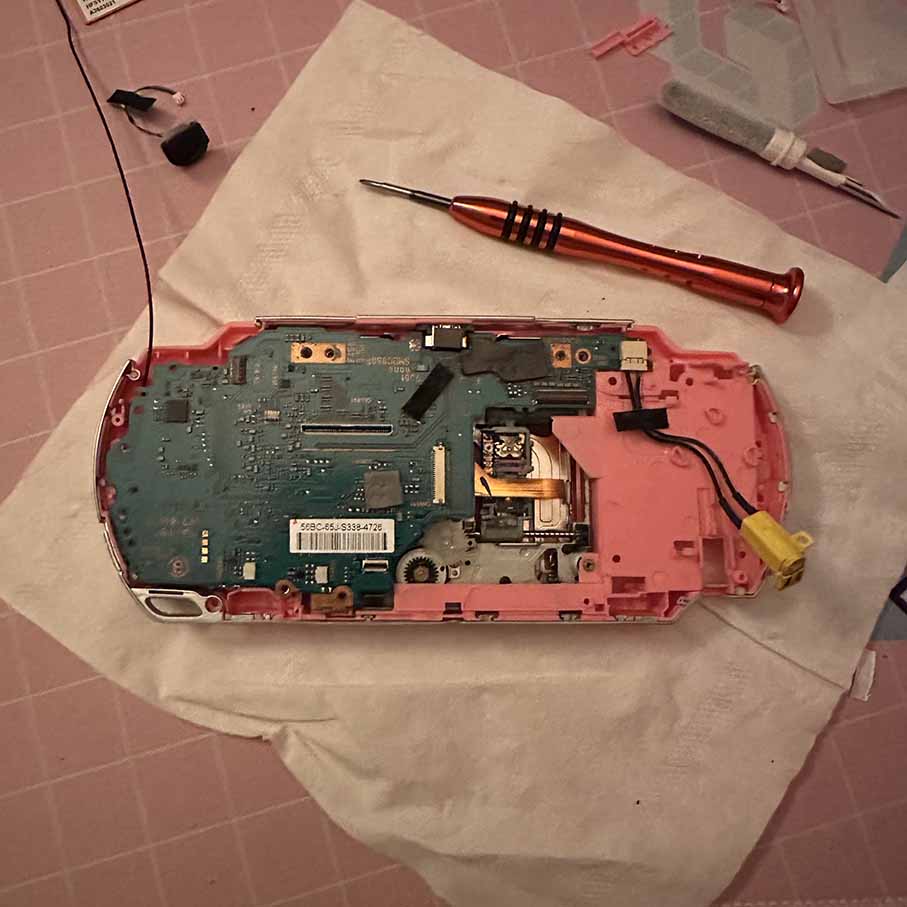
The second replacement shell arrived and this time it was complete. So, I started my second try to reassemble the PSP again. I also had some problems with assemble the Wi-Fi connector this time but it was just a small edit I had to do now. Other then that I did not have any other issue with reassemble the PSP and this time assembling was lot easier.
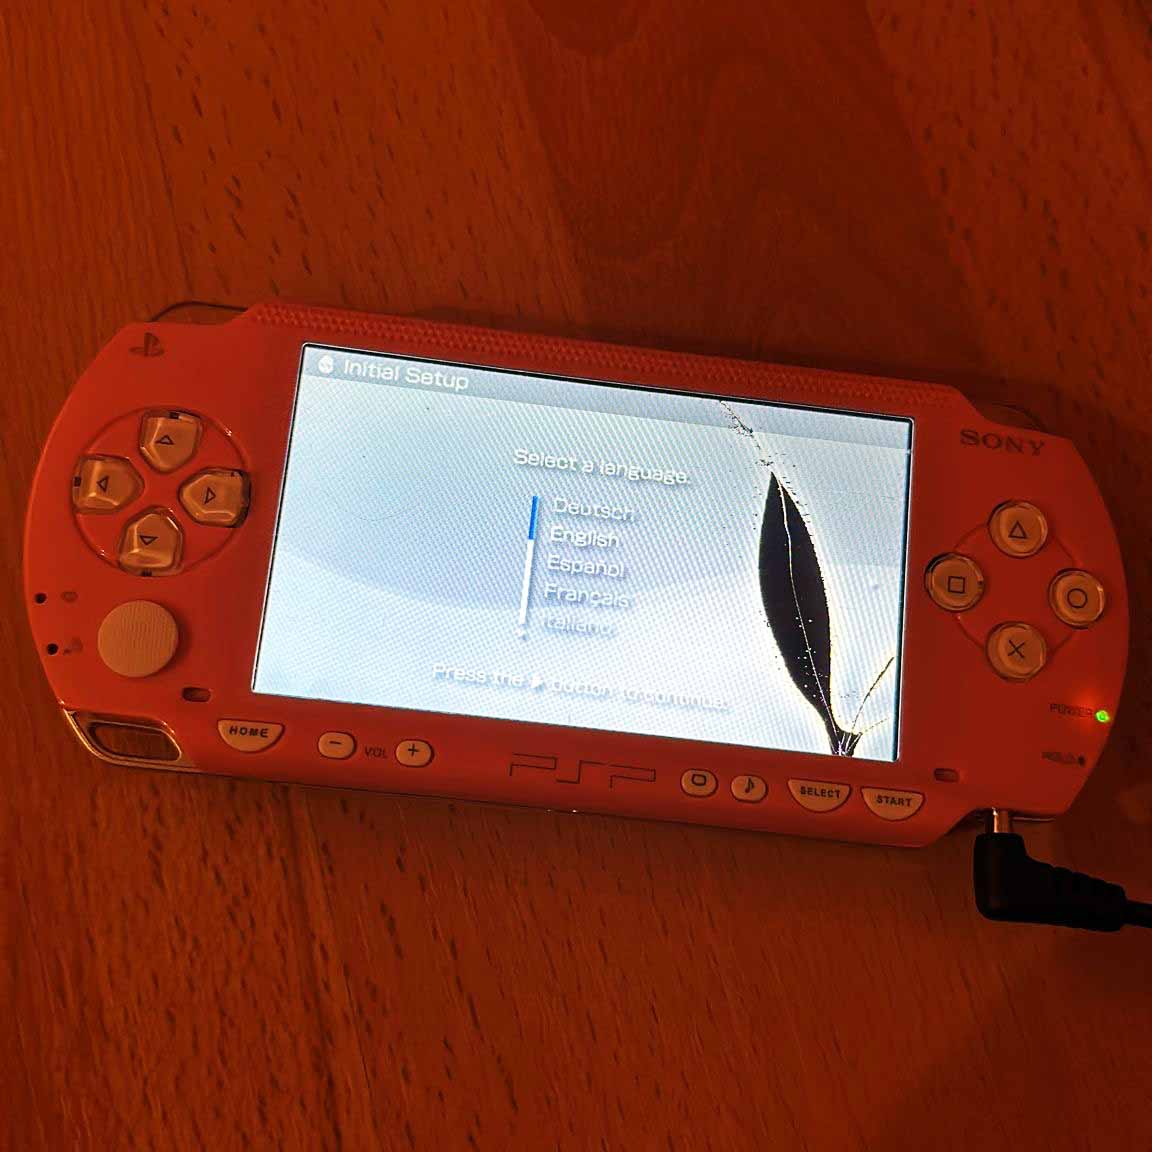
The parts somehow fit a lot better and the missing part that connect the switch with the on/off button made it possible to turn the PSP on. Only thing left now was adding the buttons put the screen in and put all the screws in the back of the shell. When I was screwing in on of the last screws, I heard a crack. I thought I had broken the shell but there was nothing to see. I plugged in the adaptor since I have to buy a new battery that is something for later.
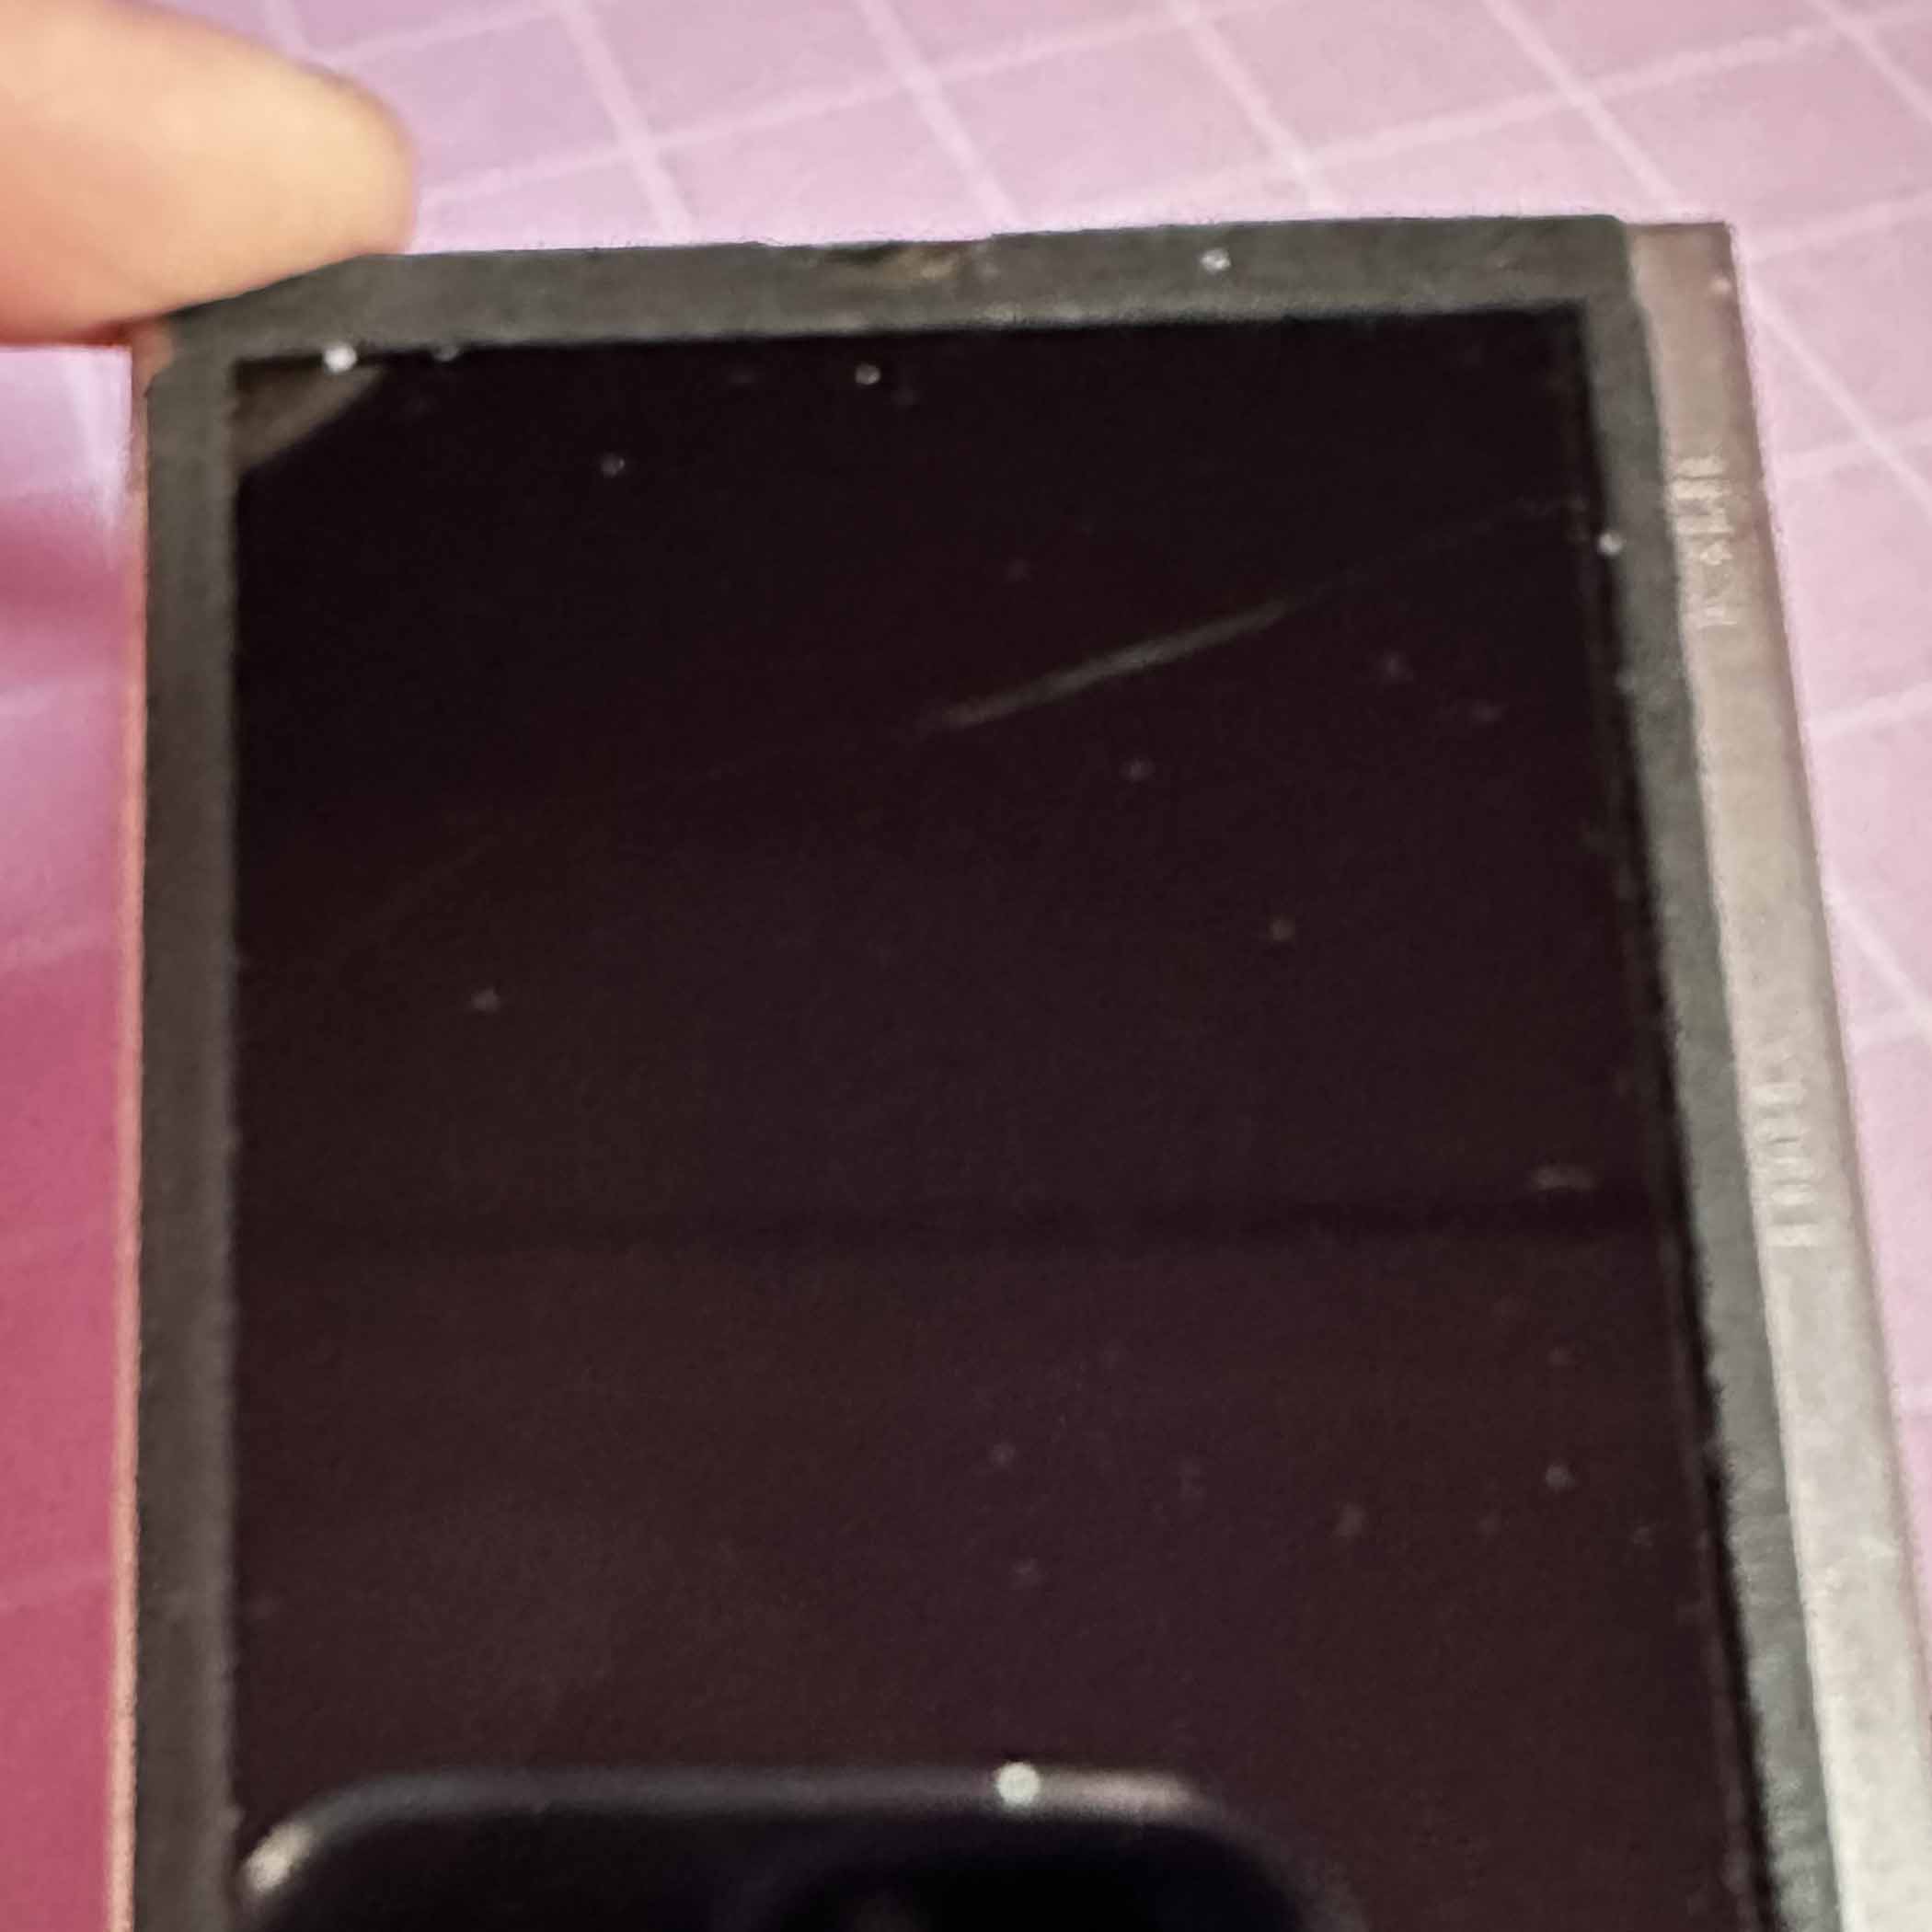
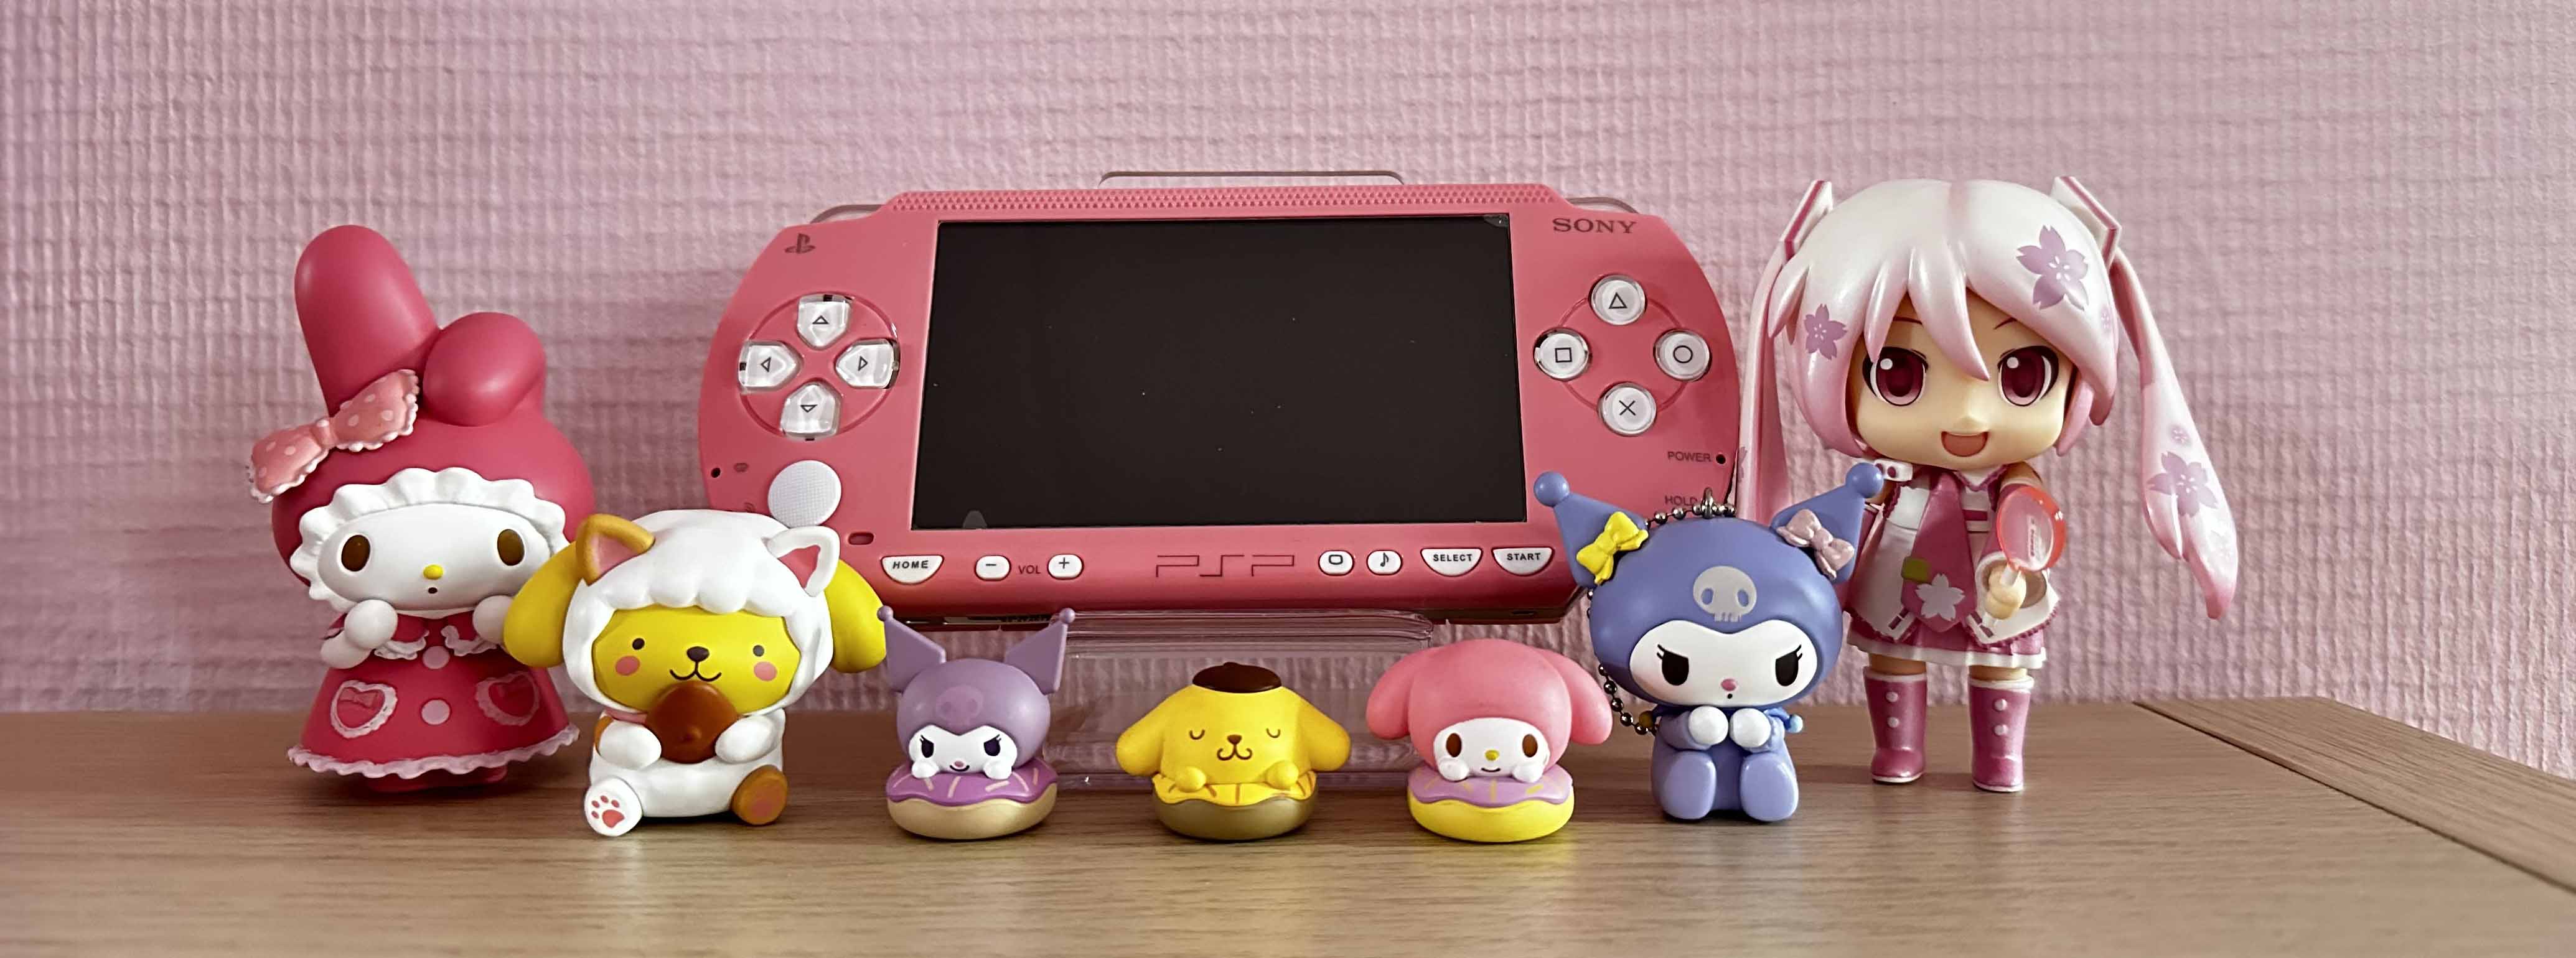
It took a little bit of time for the PSP to start up but it did so I did not kill it. At least I found out that the crack I heard was the screen. I had broken the screen. I wanted to cry from all the things I could break I broke the screen. Luckily you can buy PSP screens online and I got myself a replacement. Switched the screens and this time being very careful with the screws I was able to finish this project.Even with the mistakes I made I can say that I learned a lot of things. I am sure this will not be my last PSP if I can get my hands on a damaged one again. I also really enjoyed this project even if it was not an easy task.
Till the next blog everyone
Alexia

Photo's of the PSP
